Access the Web Portal
Open OnDemand (OOD) is a platform for accessing the clusters that only requires a web browser. This web portal provides a shell, file browser, and graphical interface for many apps (such as Jupyter, RStudio or MATLAB).
Access
Open OnDemand is available on each cluster using your NetID credentials (CAS login) and DUO MFA.
Warning
To access Open OnDemand from off campus, you need to connect to the Yale VPN.
| Cluster | OOD site |
|---|---|
| Bouchet | ood-bouchet.ycrc.yale.edu |
| Hopper | ood-hopper.ycrc.yale.edu* |
| Grace | ood-grace.ycrc.yale.edu |
| McCleary | ood-mccleary.ycrc.yale.edu |
| Milgram | ood-milgram.ycrc.yale.edu |
* Hopper Open OnDemand is only available from the Hopper VDI.
Web Portal for Courses
Each academic course on the YCRC clusters has its own unique URL to access the web portal on the cluster. Course web portal URLs are courseID.ycrc.yale.edu, where 'courseID' is the unique abbreviation given to the course. Course members must use the course URL to log in to course accounts on Open OnDemand--the normal cluster portals are not accessible to course accounts. You will then authenticate using your standard NetID (without the courseid prefix) and password. Additional information about courses and the associate web portal can be found at academic support.
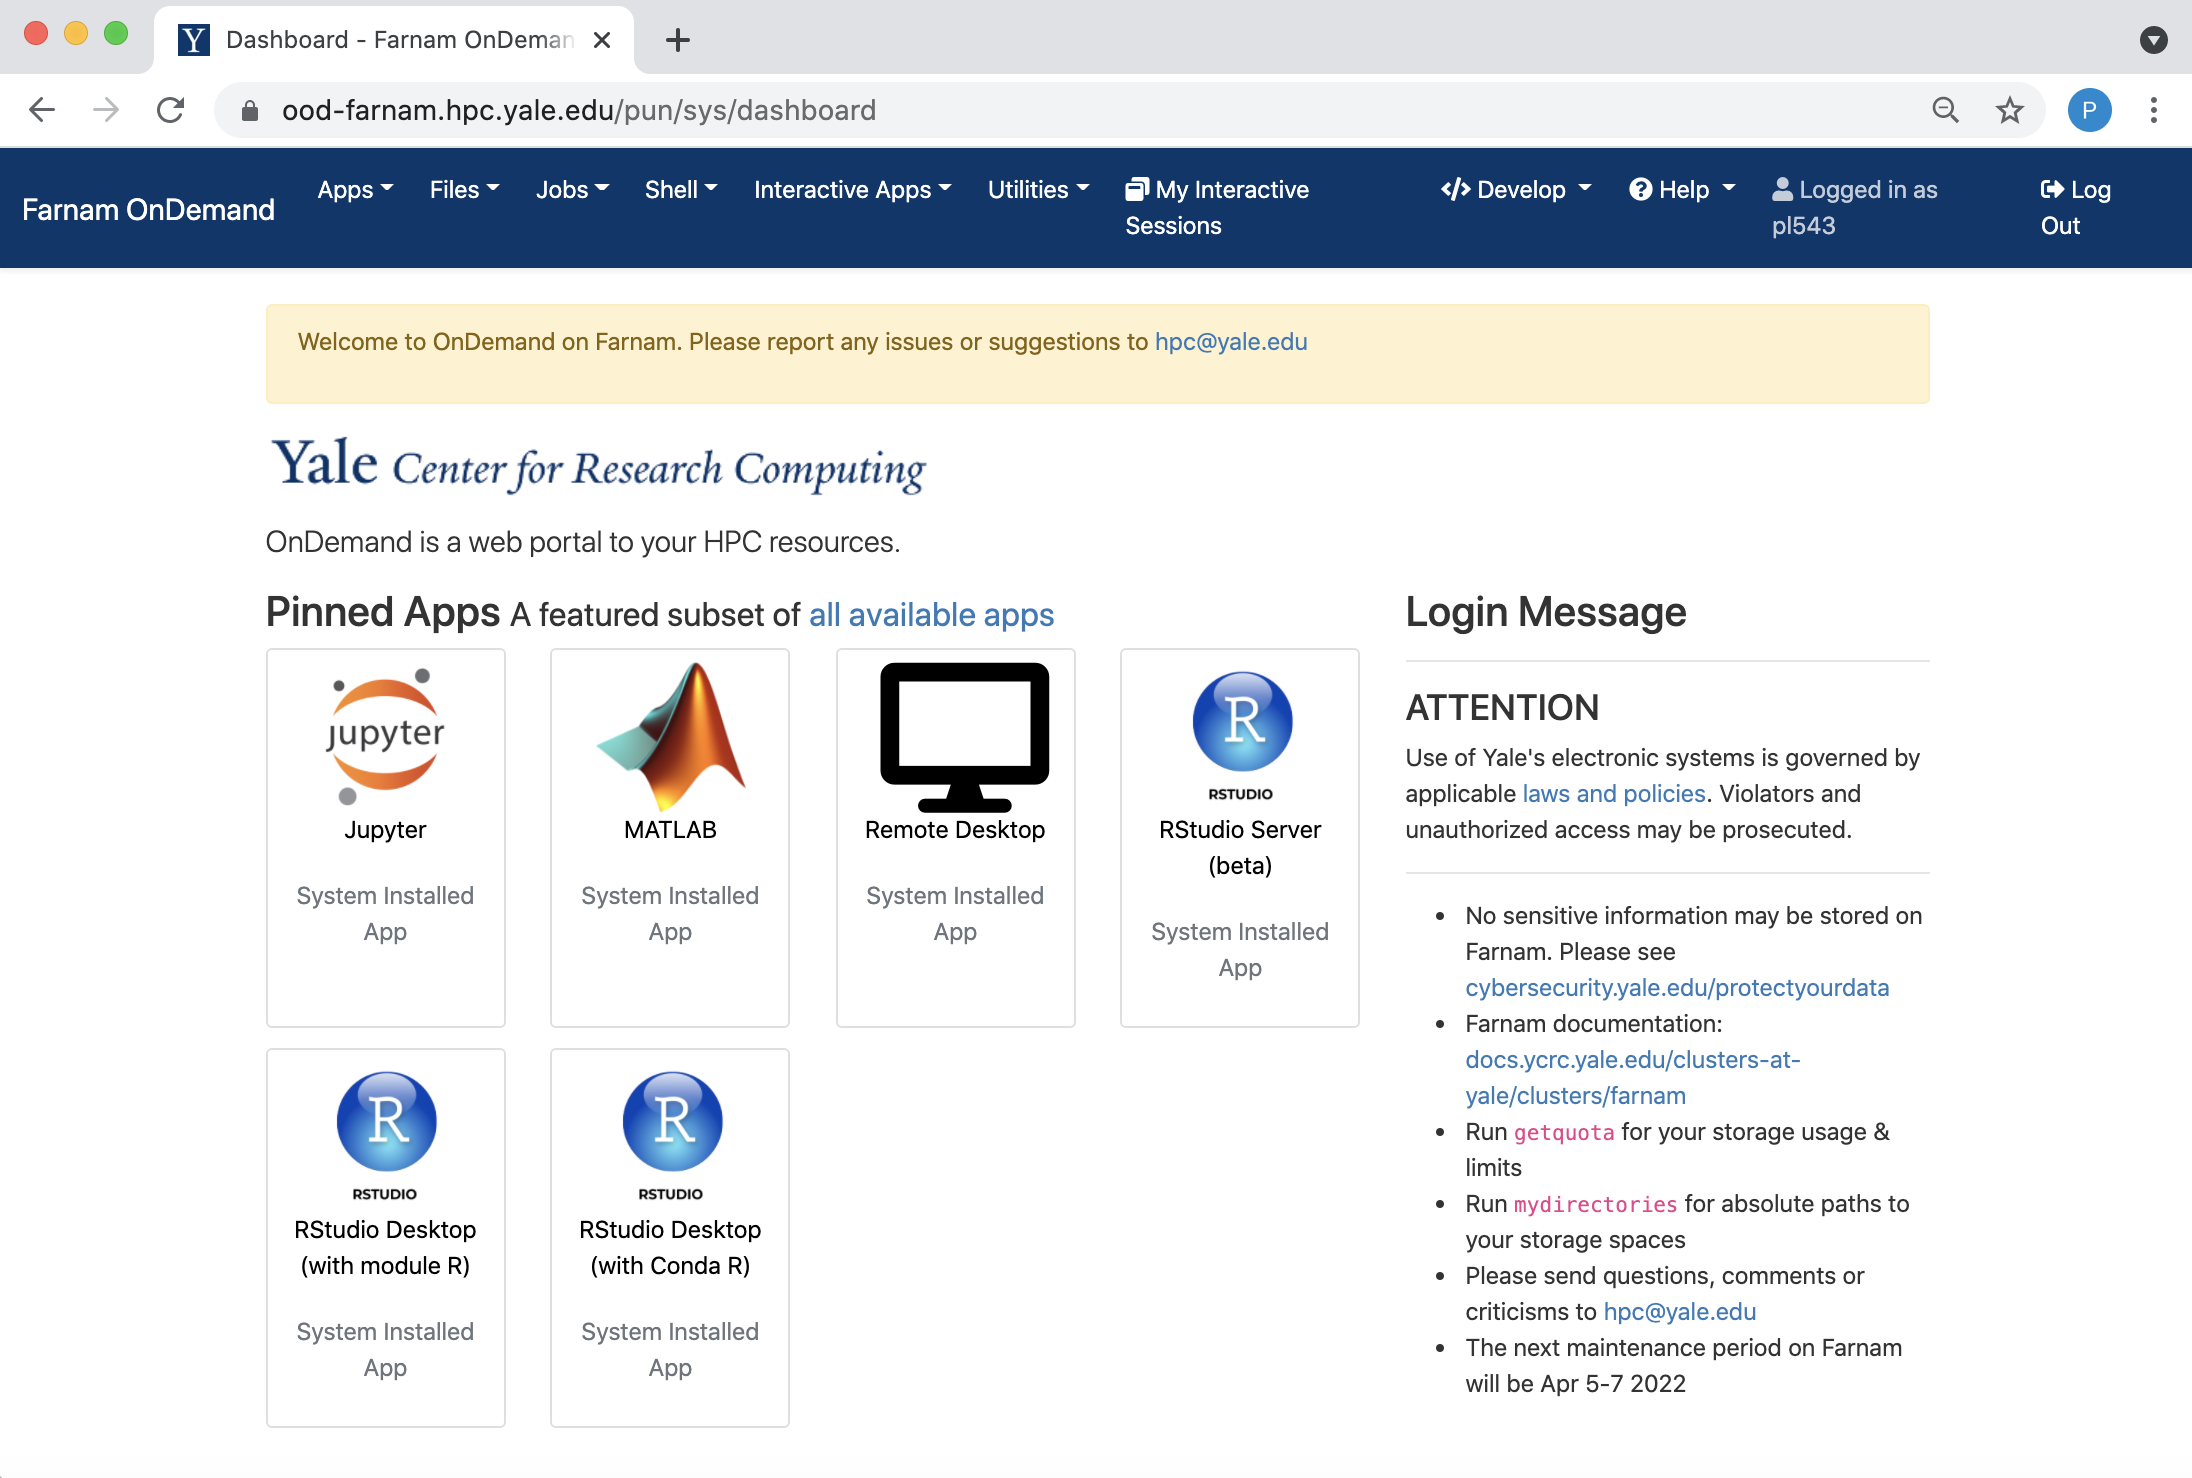
The Dashboard
On login you will see the OOD dashboard. Along the top are pull-down menus for various Apps, including a file browser, a terminal, a variet of interactive apps.
File Browser
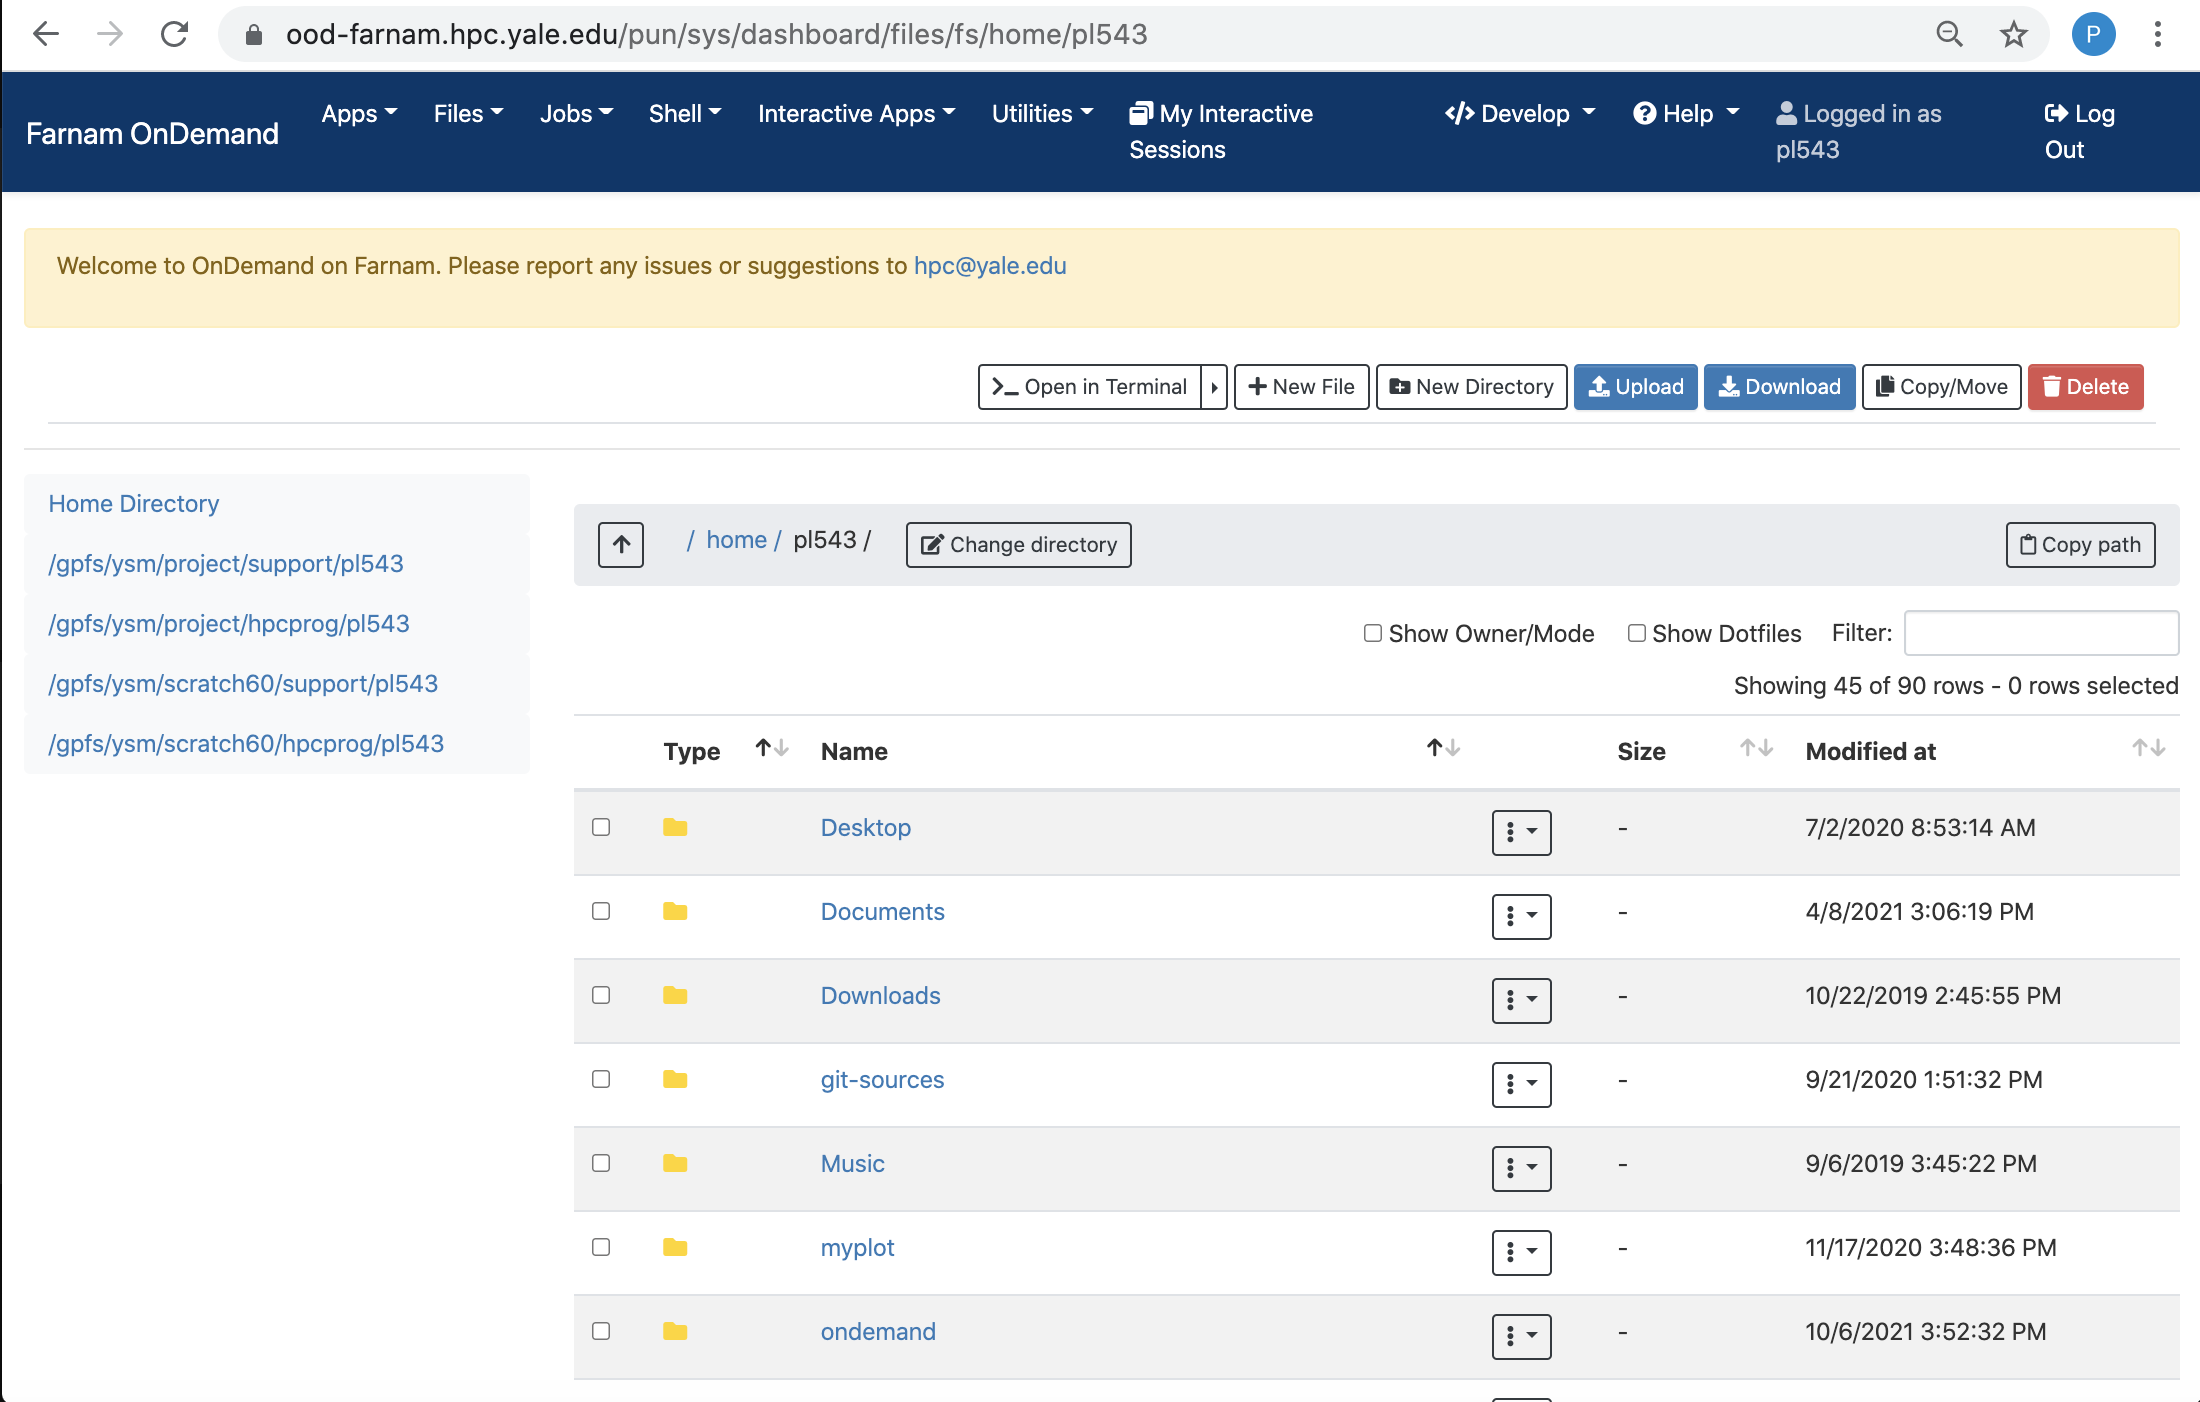
The file browser, accessible via the Files pull-down menu, is a graphical interface to manage, upload, and download files from the clusters.
You can drag-and-drop to download and upload files and directories, and move files between directories using this interface.
You can also use the built-in file editor to view and edit files from your browser without having to download and upload scripts.
Customize Favorite Paths
You are able to customize favorite paths in the file browser. Use the scripts below to add, remove, and list customized paths:
  ood_add_path
  ood_remove_path
  ood_list_path
When you run ood_add_path from a terminal command line, it will prompt you to add one path at a time, until you type n to discontinue.
ood_remove_path allows you to remove any of the paths added by you and ood_list_path will list all the paths added by you.
All the paths added will be shown in the pull-down menu for the file browser, as well as the left pane when the file browser is opened. After you have customized the path configuration from a terminal, go to the OOD dashbaord and click Develop->Restart Web Server on the top right corner navigation bar to make the change effective immediately.
Terminal
You can launch a traditional command-line interface on the cluster by selecting Clusters -> Shell Access in the top navigation bar.
This is a convenient way to access the clusters when you don't have access to an ssh client or do not have your ssh keys.
Important note
Cutting and pasting to the OOD Shell app may not always work with Google Chrome and perhaps other browsers. If you experience troubles with copy/paste functions, try switching to another browser.
Interactive Apps
We have deployed a selection of common graphical programs, such as Remote Desktop, Jupyter, RStudtio, and MATLAB, as Interactive Apps on the Web Portal.
Warning
You are limited to 4 interactive app instances (of any type) at one time. Additional instances will be rejected until you delete older open instances. Closing the window does not terminate the interactive app job. To terminate the job, click the "Delete" button in your "My Interactive Apps" page in the web portal.
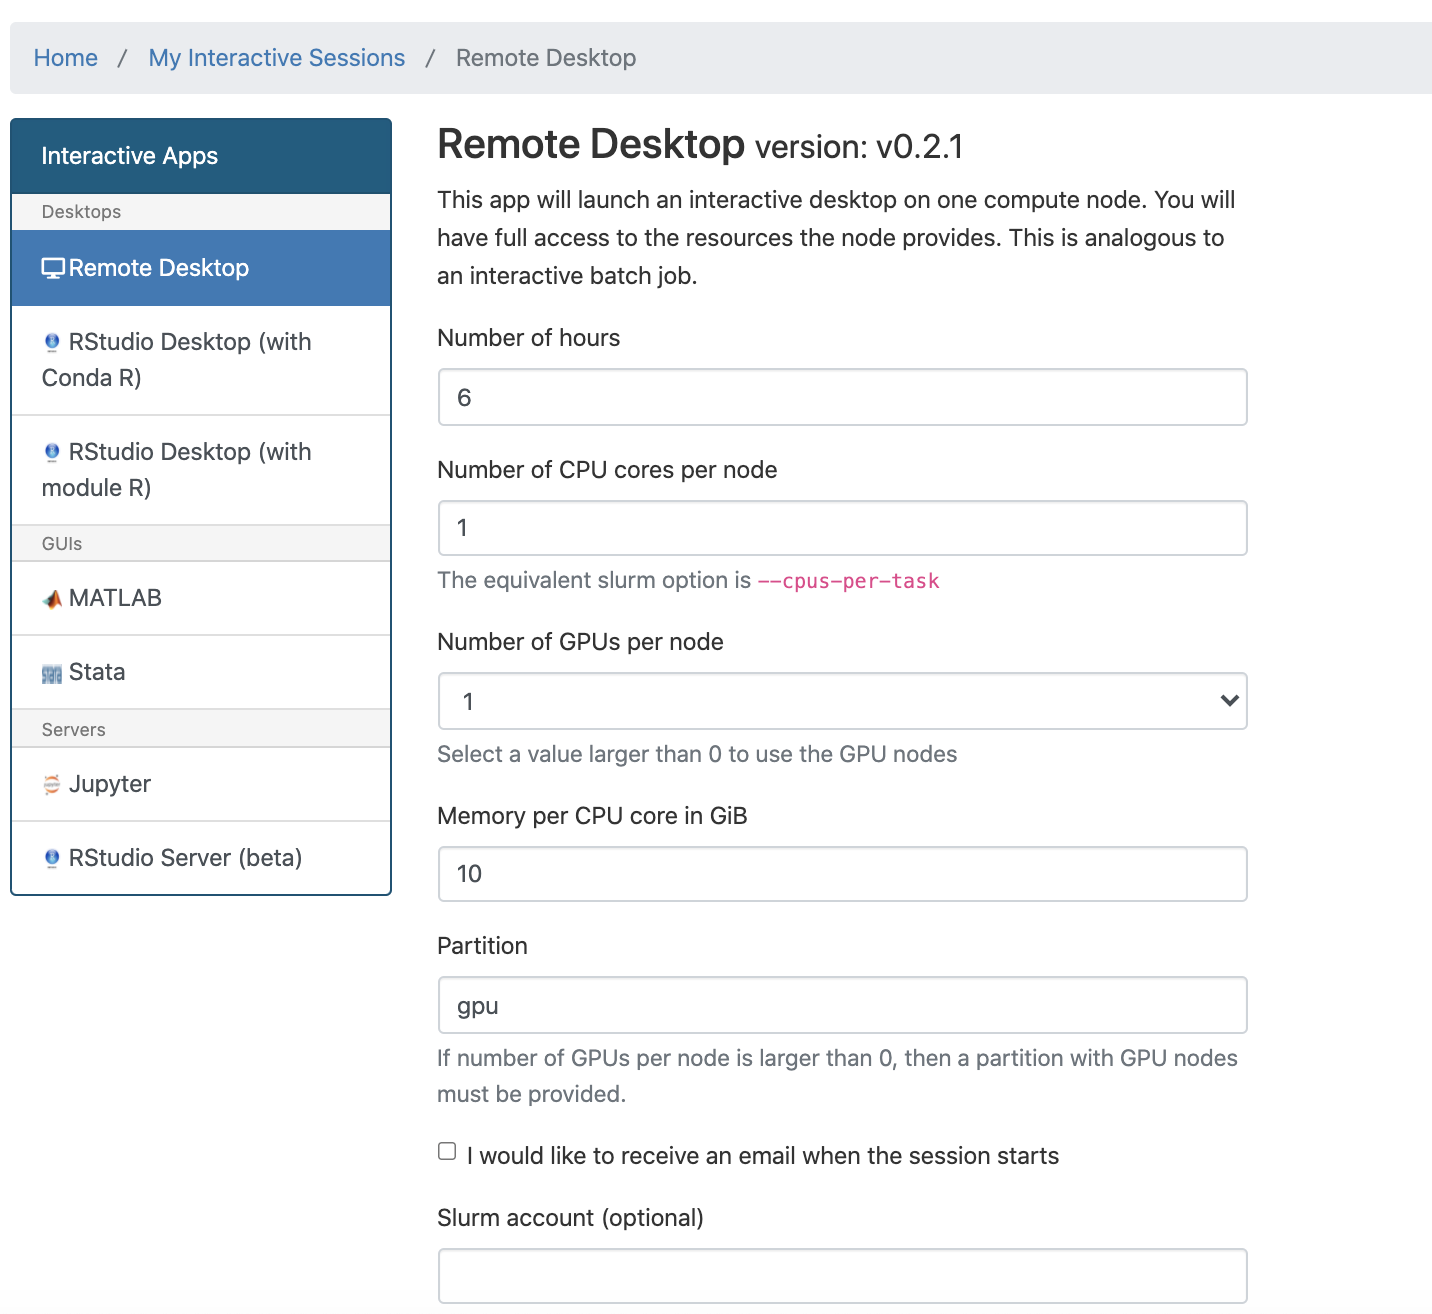
Launch an Interactive App
Select an app either from the Dashboard or the "Interactive Apps" pull down menu.
Use the form to request resources and decide what partition your job should run on.
We recommend either devel or, if applicable, your group's private partition.
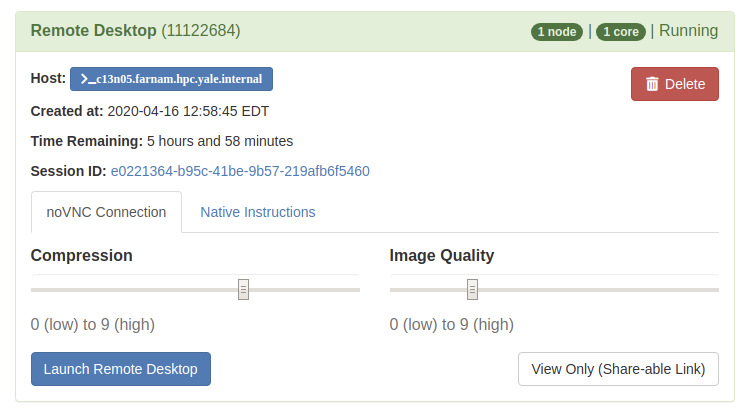
Once you launch the job, you will be presented with a notification that your job has been queued. Depending on the resources requested, you may need to wait for a bit. When the job starts you will see the option to launch the interactive app. After you click on Launch Remote Desktop (for example), your interactive app will open in a new tab.
For additional information on specific Interactive Apps, see the following documentation. A full list of available apps can viewed by selecting the "Interactive Apps" pull-down menu.
User Portal
The User Portal, located under the "Utilities" pull-down menu on the navigation bar, provides a variety of useful information about your recent jobs, the groups that you are a part of, compute and storage utilization, and support and documentation for the use of the clusters. The User Portal also hosts a cost calculator for jobs submitted to Priority Tier partitions. For more information on specific tools in the User Portal, check out the following documentation:
Troubleshoot the Web Portal
An OOD session is started and then completed immediately
- Check if your quota is full by running getquota or checking the User Portal. If your home directory is full, this may disable your OOD interface; in this case, you will need to connect to the clusters via SSH. In the worst case, if you have not set up an SSH connection yet and your OOD doesn't work anymore, please contact us and we'll help you sort the problem.
- Reset your
.bashrcand.bash_profileto their original contents (you can backup the startup files before resetting them. Add the changes back one at a time to see if one or more of the changes would affect OOD from starting properly). - Remove the default module collection file `$HOME/.lmod.d/default.cluster-rhel8.
Remote Desktop (or MATLAB, Mathematica, etc) cannot be started properly
- Make sure there is no initialization left by
conda initin your.bashrc. Clean it withsed -i.bak -ne '/# >>> conda init/,/# <<< conda init/!p' ~/.bashrc - Run
dbus-launchand make sure you see the following output:[pl543@grace1 ~]$ which dbus-launch /usr/bin/dbus-launch